Oreo Balls: The Amazing Ultimate Recipe You Need to Try
Oreo Balls are an incredible dessert that has taken the world by storm. Made simply from crushed Oreos and cream cheese, these delightful treats are small yet mighty in flavor. You can pop them in your mouth for a quick burst of sweetness, or enjoy them at your leisure. They are utterly irresistible and perfect for any occasion. Whether you’re hosting a party, celebrating a holiday, or just want a delicious snack, Oreo Balls will capture your heart and satisfy your sweet tooth.
If you’ve never had the pleasure of tasting an Oreo Ball, you are in for a treat! This dessert combines the rich, chocolatey flavor of the iconic Oreo cookie with the creamy goodness of cream cheese, creating a rich, decadent experience that is hard to resist. The satisfaction of enjoying one of these balls is truly unparalleled. In this detailed guide, you’ll discover why this recipe is so special, how to prepare it, and tips on serving it in a way that makes it truly memorable.
Oreo Balls are not just about the taste; they are amazingly simple to make and require minimal effort. With just a few ingredients, you can whip up a batch that will leave everyone asking for more. This dessert is the ultimate crowd-pleaser and is fun for both kids and adults to make together. Let’s delve into what makes Oreo Balls a must-have treat, and see how easy it is to create them at home!
Why You’ll Love This Recipe
Oreo Balls are loved by many for several reasons. Whether it’s their rich flavor, ease of preparation, or versatility, here are just a few reasons why you’ll definitely want to try this recipe:
1. Effortless Ingredients – You likely have most of the ingredients already at home, making this recipe accessible.
2. No Baking Required – Unlike many desserts, Oreo Balls require no oven time, which simplifies the process.
3. Perfect for Any Event – These treats make a great addition to parties, holidays, and even casual family gatherings.
4. Customizable Options – You can experiment with various toppings or flavors to make them uniquely yours.
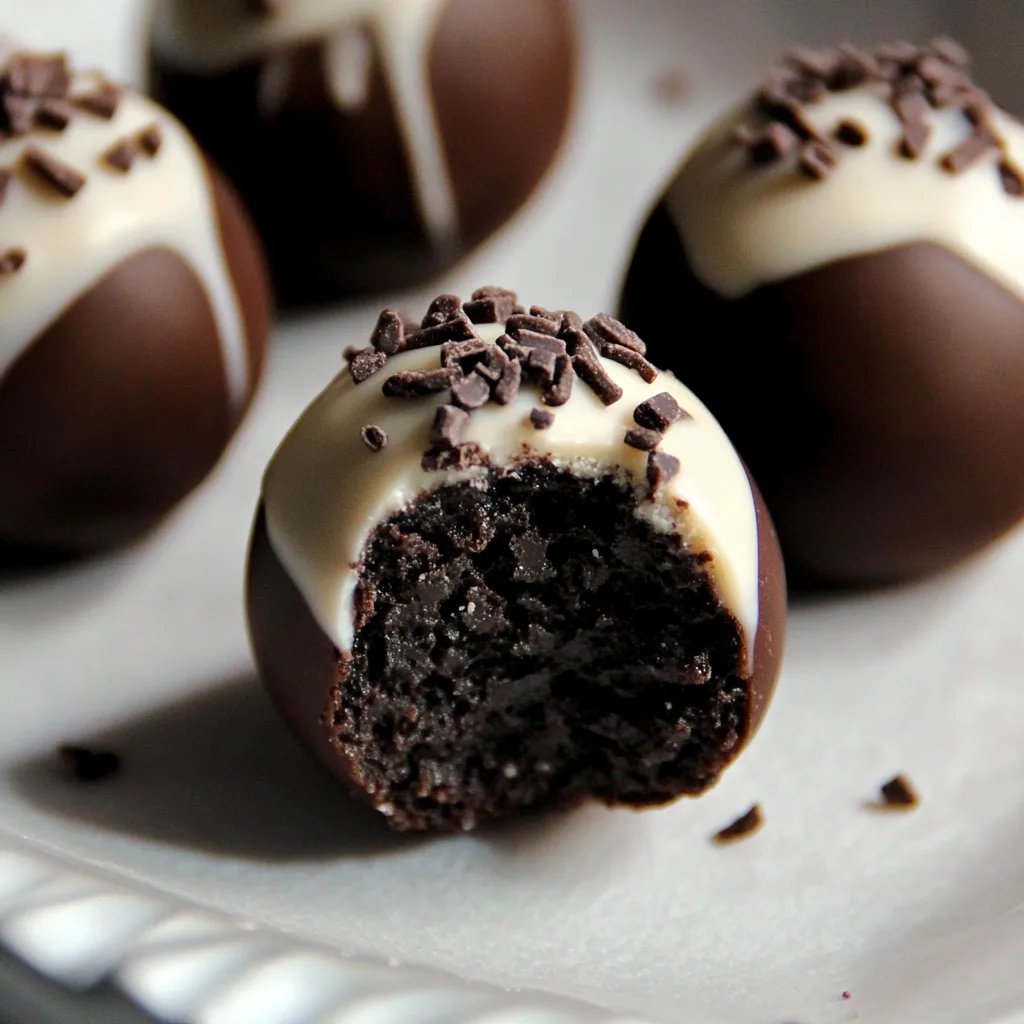
5. Delightful Presentation – Dipped in chocolate and sprinkled with toppings, Oreo Balls are visually appealing.
6. Quick to Make – It takes less than 30 minutes to prepare a batch, making it a perfect last-minute treat.
These factors combine to create a dessert experience that is not only delicious but also incredibly enjoyable to make!
Preparation and Cooking Time
When it comes to preparing Oreo Balls, you’ll be pleased to know the total time is quite manageable. Here’s how it breaks down:
– Preparation Time: 15 minutes
– Refrigeration Time: 30 minutes
– Total Time: 45 minutes
These time estimates can vary slightly based on your kitchen efficiency, but overall, you’ll have delicious Oreo Balls ready in no time!
Ingredients
– 1 package Oreos (15.35 oz)
– 8 oz cream cheese, softened
– 1 cup semi-sweet chocolate chips
– 1 tablespoon coconut oil (optional, for dipping)
– Sprinkles, crushed Oreo bits, or other toppings (optional)
Step-by-Step Instructions
Creating Oreo Balls is a straightforward process that can be done in just a few easy steps:
1. Crush the Oreos: Place the Oreos in a food processor and blend until they are fine crumbs.
2. Mix with Cream Cheese: In a large bowl, combine the crushed Oreos with softened cream cheese. Mix until well-blended and smooth.
3. Form Balls: Using your hands, scoop out small portions of the mixture and roll them into small balls, about the size of a tablespoon.
4. Chill the Balls: Place the balls on a baking sheet lined with parchment paper. Refrigerate for about 30 minutes to allow them to firm up.
5. Melt Chocolate: In a microwave-safe bowl, melt the semi-sweet chocolate chips. If desired, add coconut oil to make the chocolate smoother.
6. Dip the Balls: Once the Oreo balls are firm, dip each one into the melted chocolate using a fork or toothpick. Allow excess chocolate to drip off.
7. Add Toppings: Before the chocolate hardens, sprinkle your choice of toppings on the wet chocolate.
8. Set and Serve: Place the dipped Oreo Balls back on the lined baking sheet. Return them to the refrigerator for another 15 minutes to set the chocolate.
These steps will guide you through the process, ensuring your Oreo Balls are perfectly crafted and delightful.
How to Serve
Serving Oreo Balls can be both fun and creative! Here are some suggestions to elevate your dessert presentation:
1. Dazzling Presentation: Use decorative platters to arrange the Oreo Balls. Group them by color or style for an eye-catching display.
2. Accompaniments: Consider serving with a drizzle of caramel or additional melted chocolate for a luxurious touch.
3. Seasonal Touch: For holidays, you can customize the decorations to fit the occasion, such as red and green for Christmas or pastel for Easter.
4. Individual Treats: Place each Oreo Ball in mini cupcake liners for a personal touch that makes them easy to grab.
5. Pairing Suggestions: Oreo Balls pair wonderfully with coffee, milk, or even a glass of dessert wine, adding sophistication to the experience.
With these serving tips, you’ll not only impress your guests, but you’ll create a delightful dessert experience that everyone will cherish!
Additional Tips
– Use Room Temperature Ingredients: Ensure the cream cheese is at room temperature for easier mixing. This will create a smoother mixture.
– Experiment with Different Chocolate: While semi-sweet chocolate is great, you can also use white chocolate or dark chocolate for a different flavor.
– Chill Thoroughly: Allowing the Oreo Balls to chill properly ensures that they hold their shape and the chocolate coating sets well.
– Taste Test: Before rolling into balls, taste the mixture to see if you want to add more cream cheese for creaminess or adjust the sweetness.
– Keep it Fun: Encourage kids to join in. Allow them to help with rolling the balls or choosing toppings.
Recipe Variation
Feel free to get creative with your Oreo Balls! Here are some delicious variations to try:
1. Peanut Butter Oreo Balls: Mix in a tablespoon of peanut butter with the cream cheese for a nutty twist.
2. Mint Oreo Balls: Use Mint Oreo cookies instead of regular Oreos for a refreshing mint flavor.
3. Coconut Oreo Balls: Incorporate shredded coconut into the mixture, or roll the balls in coconut instead of chocolate.
4. S’mores Oreo Balls: Add mini marshmallows and graham cracker crumbs to the mixture for a camping-inspired treat.
5. Choco-Matcha Oreo Balls: Mix matcha powder into the chocolate coating for an earthy flavor and stunning contrast.
Freezing and Storage
– Storage: Keep your Oreo Balls in an airtight container in the refrigerator. They will stay fresh for about 5 days.
– Freezing: You can freeze the Oreo Balls for up to 3 months. Just ensure they are sealed well to prevent freezer burn. To thaw, place them in the refrigerator overnight before serving.
Special Equipment
You won’t need too much specialized gear to make these treats. Here’s what you’ll need:
– Food Processor: For crushing the Oreos into fine crumbs efficiently.
– Mixing Bowl: A large bowl for mixing the crumbs and cream cheese together.
– Baking Sheet: Lined with parchment paper to prevent sticking when chilling.
– Microwave-Safe Bowl: For melting the chocolate safely.
– Fork or Toothpick: To dip the balls into melted chocolate easily.
– Refrigerator: Essential for chilling the balls to ensure they hold their shape.
Frequently Asked Questions
Can I use different types of cookies?
Yes! Try using different sandwich cookies or even homemade cookies for a unique flavor.
How can I make these gluten-free?
You can use gluten-free Oreo cookies, which are widely available, to cater to gluten-free diets.
Why do my Oreo Balls fall apart?
If the mixture is too crumbly, consider adding a little more cream cheese until the mixture holds together well.
Can I skip the chocolate coating?
Absolutely! You can enjoy them plain, rolled in powdered sugar, or simply as is.
How do I make them dinner party ready?
Use an elegant platter, add fresh fruit for color, and provide small dessert forks for a sophisticated touch.
Conclusion
Oreo Balls are a delightful treat for anyone with a sweet tooth. Their simplicity and versatility make them a favorite among bakers and dessert lovers alike. With the foundation laid out in this article, you can create Oreo Balls tailored to any occasion, making them a hit for parties and family gatherings. Get creative and enjoy the process of making these delectable bites!